01Before the session
01
Instructor self-check
- Fitness to teach: Be free from impairment by alcohol or drugs, mentally alert and physically ready.
- Equipment: Have an approved helmet, a radio or phone, a whistle and basic protection from cold and wind. Check your own skis or snowboard, boots and bindings.
- Emergency contacts: Know where to find the student’s emergency contact and accompanying guardian’s details—for example, in the pinned announcement in the TXSNOW session group chat—so you can retrieve them and call immediately. Before the session, check your phone’s battery and reception, and know the contact numbers for TXSNOW and the resort’s ski patrol.
02
Student equipment check
Head to toe
- Check that the helmet meets requirements and is fastened securely, goggles fit, the neck warmer does not obstruct breathing, and gloves are dry and warm.
- Check boot size and buckle settings, compatibility between the bindings and boot soles, and the appropriate runaway-prevention device for the skis or snowboard.
- Remove hard or sharp objects from pockets.
03
Assess terrain & surroundings
By age group and ability level
- Choose terrain to suit how the student is feeling that day and their lowest demonstrated skill level. Plan stopping points, meeting points and an exit route.
- Signs and closures: Follow all posted directions. Never enter a closed area.
04
Opening safety briefing
60 seconds or less“We’ll keep it slow, take short runs and stay able to stop. Give way to people downhill; look uphill before joining a trail. Only stop where others can see you. When I say ‘slow’ or ‘stop’, do it straight away. Tell me whenever you feel cold, hungry, tired or scared.”
02Throughout the session
1Keep the session under control
- Match speed and route to the student. Watch blind spots and places where trails or traffic converge.
- Be able to slow the student down at any time: Use instructions, demonstrations and changes in positioning to reduce speed or stop immediately. Never let a student accelerate beyond your ability to keep up.
2Positioning & visibility: the 1:1 rule
- KM is one-to-one: keep your attention on the student and stay within calling distance throughout. Position yourself slightly uphill or just behind the student’s shoulder so you can intervene to control speed.
- Before a change, give the instruction, demonstrate, then carry it out. Before merging or traversing, look uphill and give way.
- Three requirements for stopping: Be visible from above, do not obstruct the trail and move out of the fall line promptly.
- Stay focused: Do not pause or linger to chat with acquaintances. Never leave the student to one side without supervision.
- Manage interruptions: If someone outside the session approaches to greet, chat with or photograph you or the student, politely say, “We’re in a session right now. Please catch up with us afterwards.” Immediately return to your supervision position and make sure the student is in view.
3Using chairlifts
- Use a chairlift only when the child understands how to load, ride and unload and is emotionally settled. If uncertain, ask resort staff or another skier or rider to assist.
- Review instructions and hand signals before loading and unloading. If the child hesitates or becomes frightened, abandon that attempt and choose a safer alternative.
4Check how the child feels
Every 15 minutes
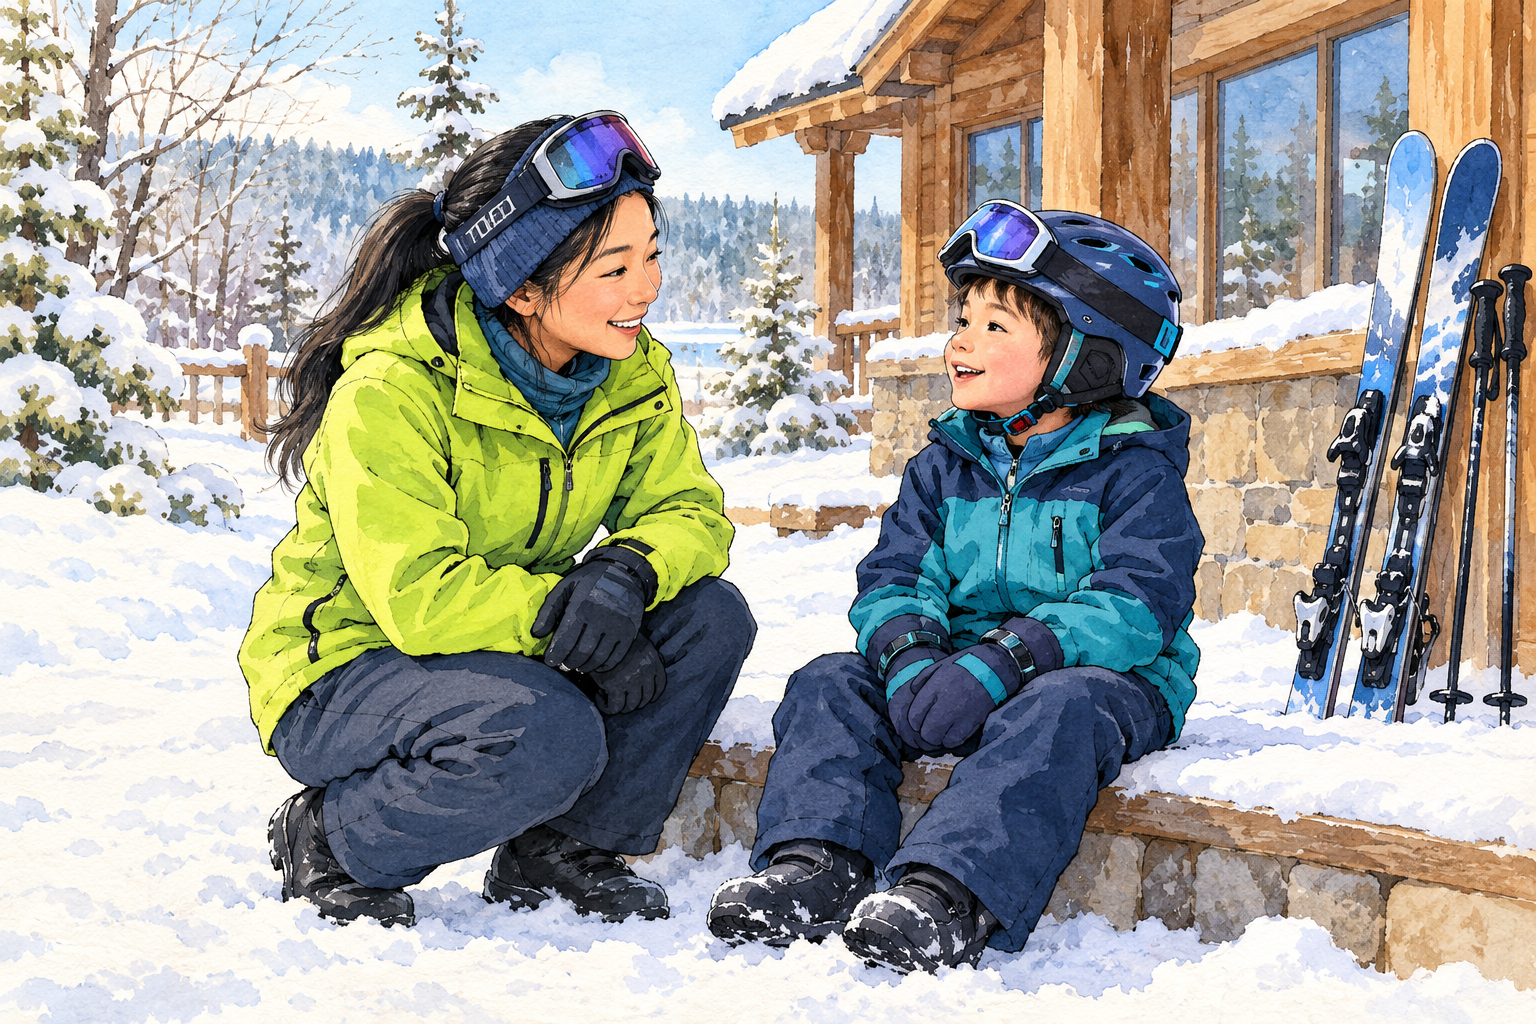
- Check in briefly every 15 minutes: Ask whether the child is cold, hot, hungry, tired, scared or in pain. Move to easier terrain or take a break to warm up based on their response.
- If the child is clearly cold, shivering or losing focus, stop the activity immediately so the child can warm up, drink water or rest.
03Age-specific guidance: KM age groups
Ages 1–4
Snow Munchkins
5–10 minutes
Use very short learning blocks with frequent breaks to warm up. Demonstrate with large movements and playful cues. Avoid challenging or overstimulating terrain.
Ages 5–7
Little Heroes
15–20 minutes
Learning blocks may extend to 15–20 minutes. Introduce rhythmic cues and self-checks: helmet, boot buckles and the ability to stop.
Ages 8–11
Young Adventurers
Stop first, then add speed
Discuss route choices and ask the child to explain why they chose a particular line. Emphasise that they must be able to stop before increasing speed.
04Communicating with parents
Safe arrival, pick-up & handover
- Before the session ends, open the TXSNOW KM Pickup Code webpage from the pinned announcement in the session group chat on your phone. Only hand the child back after the parent enters the correct pick-up code in person.
- Hand the child directly to the parent. Until the parent arrives, do not leave the child or pass responsibility to someone else. Stay with the child even if the parent is late. Notify TXSNOW staff promptly so they can start the late pick-up procedure and arrange continued supervision.
- If a minor incident such as a routine fall or scrape occurs during the session, tell the parent in the session group chat as soon as possible. Describe what happened objectively and what you did, so the parent does not first discover a mark afterwards and have to ask about it. Accidents or cases requiring medical assessment must still be handled and reported under the incident SOP.
05Prohibited conduct: non-negotiable rules
- Taking a child onto steeper terrain or into crowded areas before they can stop and respond immediately to instructions.
- Increasing speed or relaxing safety rules to accelerate learning or capture video footage.
- Teaching while impaired by alcohol or drugs, ignoring closures or warnings, or entering a closed area.
- Leaving the student after a fall or collision, or failing to report it as required by the SOP.
- At the loading platform or before the chair is fully airborne, hauling a child back up onto the seat by hand; failing to alert the operator promptly and prioritise getting the child safely onto the ground when slipping begins.
- Failing to use or lower the restraint bar as required by the resort, or ignoring lift staff’s instructions.
- Releasing a child or allowing them to leave before the parent has entered the pick-up code and completed the on-site identity check.
- Leaving a child before the parent arrives, or handing the child to an unauthorised third party.
- Failing to promptly tell parents about minor injuries during the session, undermining clear communication and trust.